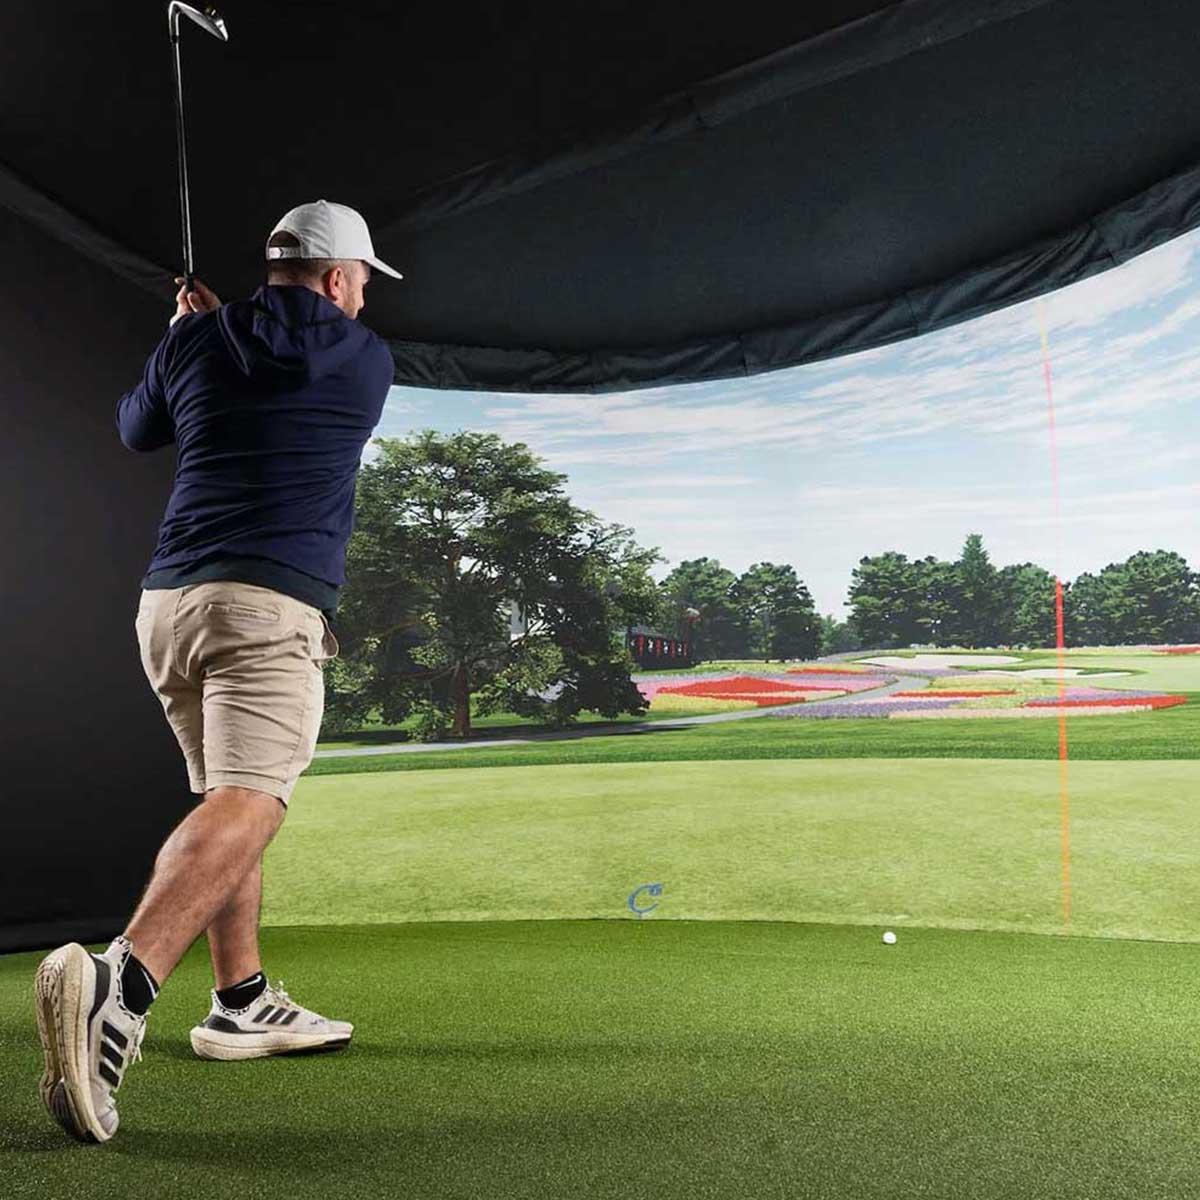
How to Set Up Your Carl’s Place Curved Golf Enclosure Package (Step-by-Step Guide)
A step-by-step guide to building the incredible Carl's Place Curved Golf Studio Enclosure Package with PDF instructions + walk-thru video.
Just ordered your Carl’s Place Curved Enclosure Package from PlayBetter.com? Big win. You’re about to experience one of the most immersive golf simulator setups on the market—perfect for wrapping yourself in the game. While the full instruction manual and walkthrough video are must-haves during installation, we’ve put together this simplified step-by-step guide to help you stay on track and avoid confusion.
Before You Begin
Make sure you have:
-
Your full curved enclosure kit (pipes, fittings, screen, curved crossbars, tension cables, ceiling/side panels, etc.)
-
Ample space with ceiling clearance and wall depth to accommodate the curve
-
A second person—there are several steps where an extra set of hands is a game-changer
-
A rubber mallet, wrench set, step ladder, level, and measuring tape
Instruction Manual & Walkthrough Video
Use the official Curved Enclosure manual and assembly video as primary references while working through your build.
Step 1: Assemble the Base Frame
🧱 Build the foundation
Lay out the bottom section of the frame using labeled pipe segments. This includes the curved sections that form the signature wraparound footprint. Connect using the T-fittings and corner fittings per the manual’s layout diagram.
📏 Add vertical supports
Insert the upright poles into each connector on the base frame. These will support both the height and the inward curve of the ceiling structure.
🔧 Tip
Use a mallet to fully seat pipes into connectors, and a level to ensure all vertical posts are straight before securing everything together.
Step 2: Connect the Curved Ceiling Frame
🌀 Install the top curved bars
Attach the curved crossbars to form the arched shape over the hitting area. These connect to the vertical uprights and help define the enclosure’s immersive wraparound design.
🧷 Add horizontal stabilizers
Once the curve is formed, connect horizontal crossbars between the arches to stabilize the frame and prevent shifting.
📌 Pro Tip
Do a quick walkthrough before tightening everything—ensure the curve is symmetrical and aligns with your hitting position.
Step 3: Hang the Impact Screen
🪝 Center the screen
Align the center of the impact screen with the front middle of the curved frame. Use the included straps or bungees to attach the screen through the grommets, starting at the top center and working outward and downward.
💥 Tension carefully
This screen requires balanced tension across the curve—tighten evenly to maintain the screen’s shape without creating stress points or wrinkles.
⚠️ Note
The curved design makes screen alignment more sensitive than flat enclosures—take your time during this step.
Step 4: Install Nylon Enclosure Panels
🖤 Drape the fabric
Carefully drape the side and ceiling panels over the curved structure. Attach to the frame using hook-and-loop straps and edge connectors.
🔒 Seal the seams
Join the fabric pieces together using the integrated hook-and-loop seams to create a clean, blackout effect. This maximizes projector visibility and keeps stray light out.
💡 Lighting tip
This enclosure’s curved design and black surround dramatically enhance image quality—especially with ultra-short throw projectors.
Step 5: Add the Tension Cables
⚙️ Secure the shape
Use the included steel cables and turnbuckles to tension across the enclosure. These cables maintain the structural integrity of the curve and keep everything in place over time.
🛠️ Adjust as needed
You may need to tweak cable tension once your screen and fabric are installed to ensure everything remains centered and properly aligned.
Step 6: Final Checks
✅ Make sure:
-
The curved frame is symmetrical and fully stabilized
-
The screen is evenly tensioned with no sagging or hotspots
-
Fabric panels are aligned, smooth, and sealed
-
Tension cables are tight and lock the structure in place
🎯 Now you're ready to install your projector, hitting mat, and launch monitor to bring it all to life.
Video Walkthrough
Need a visual reference? Watch the Carl’s Place Curved Enclosure assembly video for step-by-step visuals that pair perfectly with your build.
Need Help?
If you have questions during setup or need help making the most of your enclosure, our team is here for you. Contact us here or use the live chat on our site.
Time to tee off
This is one of the most visually stunning enclosures you can build at home—now go hit some buttery draws into it.


